Flash Samsung Stock Firmware (4 files)
Step 1: Download and
install Samsung USB Driver on your computer (if Samsung USB Driver is
already installed on your computer then SKIP this step).

Step 2: Download and extract Odin Downloader on your Computer (if you already have Odin Downloader then SKIP this step).

Step 3:
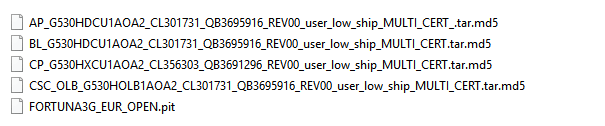
Download and extract Samsung Stock Firmware (4 files) on your computer.
After extracting the firmware you will be able to see similar files (file name varies as per device model number):
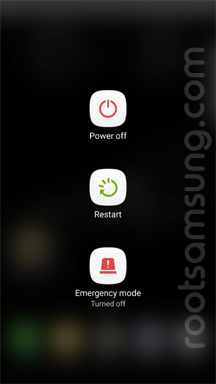
Step 4: Power Off your Samsung Device.
How to flash Any Samsung Original Firmware flash file using Odin
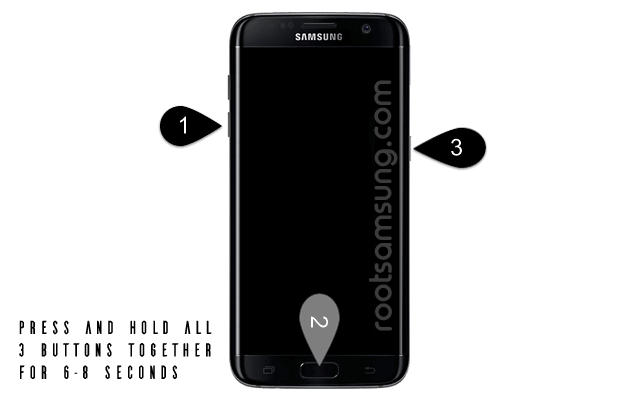
Step 5: Now, you need to boot your Samsung Device into the Download Mode. To boot into the download mode: Press and Hold Power + Home + Volume Down Key at the same time for 8 seconds.
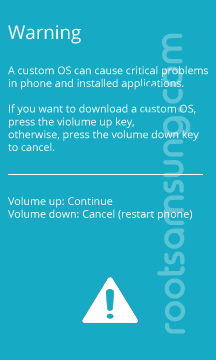
Step 6: Once you have booted into the download mode, you will be able to see the Warning Triangle on your device screen. Now, you need to press the Volume UP key to continue.
Step 7: Open Odin Downloader (you have downloaded and extracted in step#2).
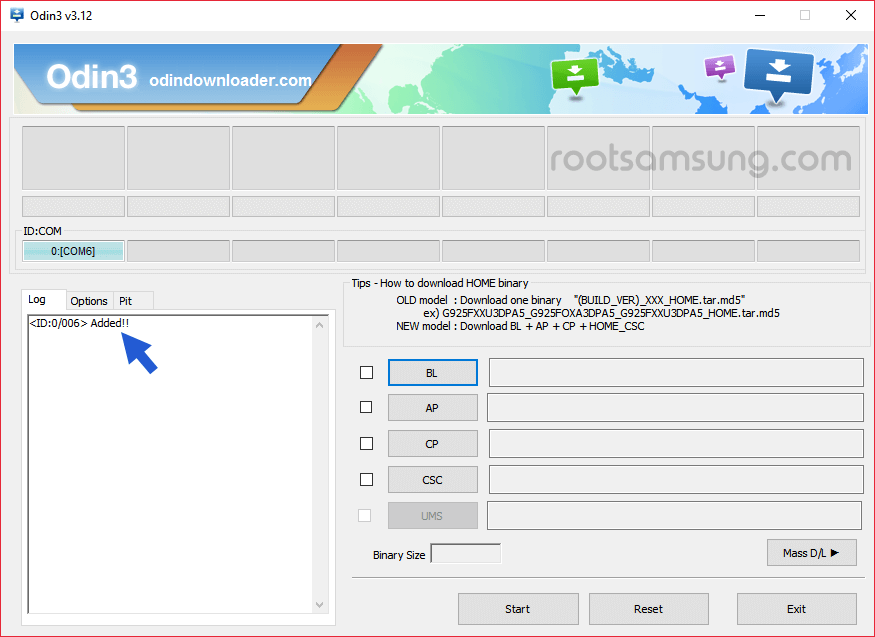
Step 8: Once Odin Downloader is launched, you need to connect your Samsung Device to the computer using the USB cable.

Step 9: Once your device is connected, Odin will automatically detect it and you will be able to see Addedmessage in Odin Log area.
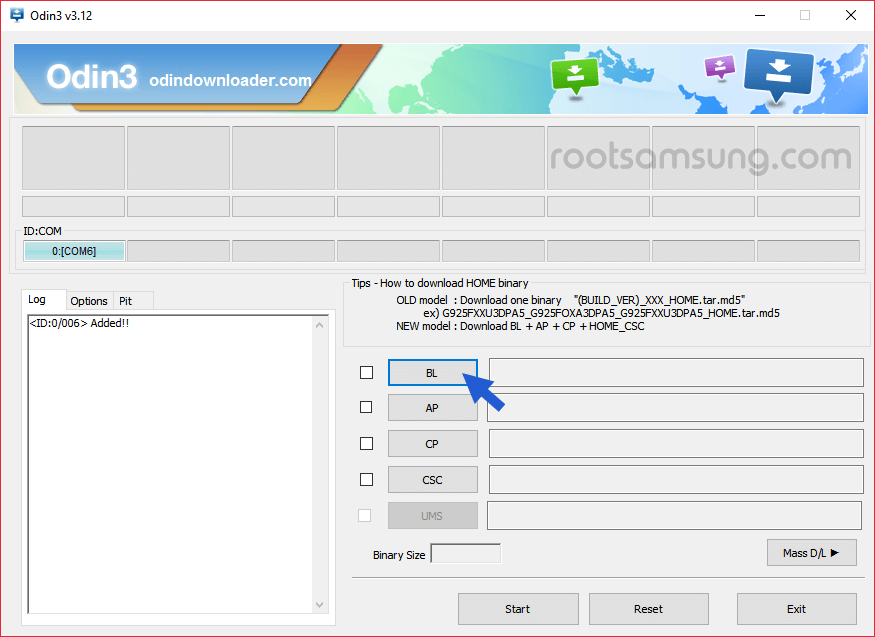
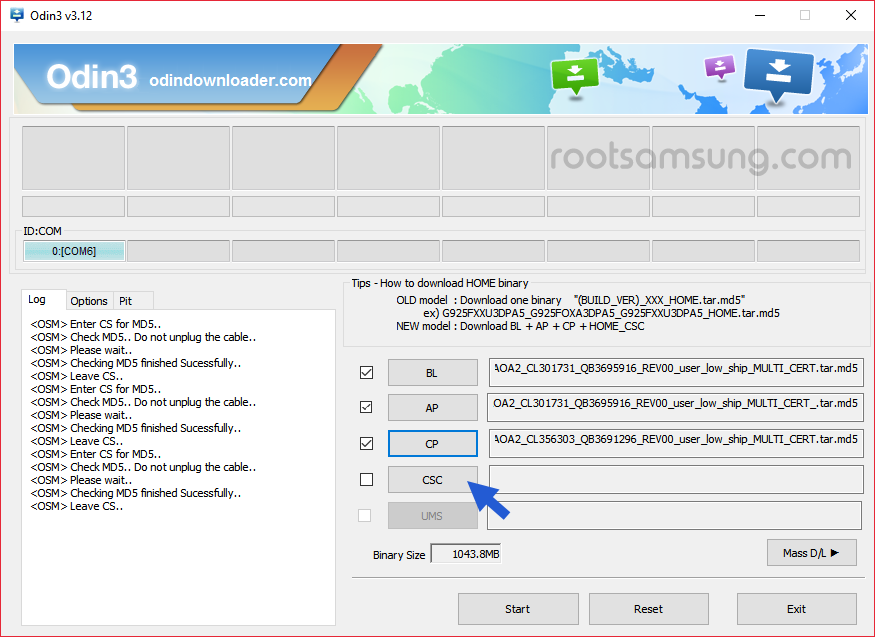
Step 10: Now, Click on BL button and select the BL file from your firmware folder.
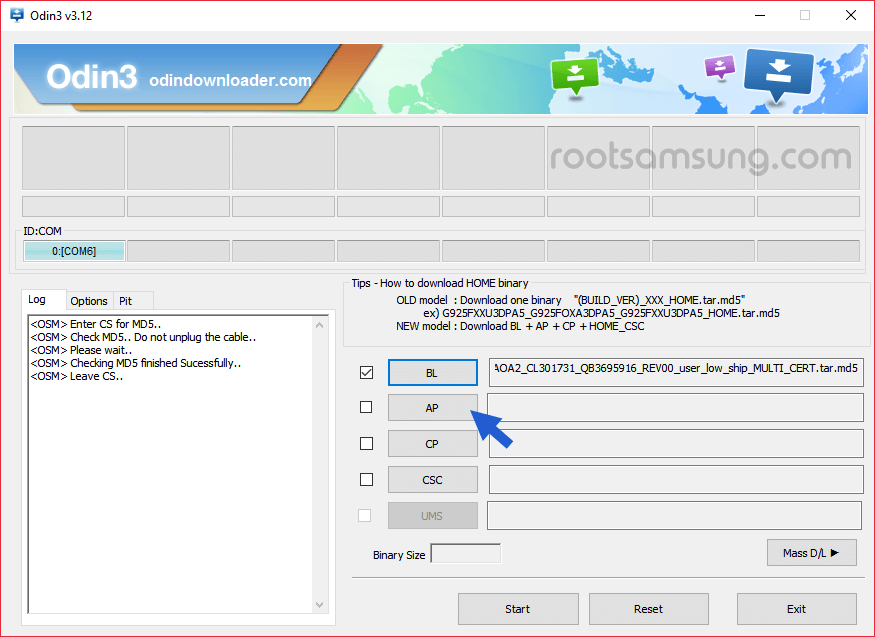
Step 11: Now, Click on AP button and select the AP file from your firmware folder.
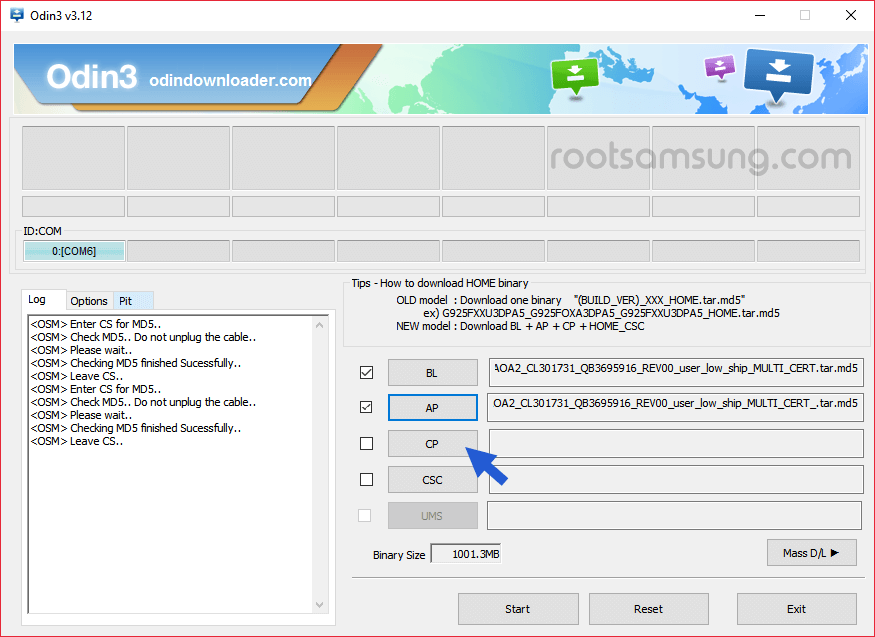
Step 12: Now, Click on CP button and select the CP file from your firmware folder.
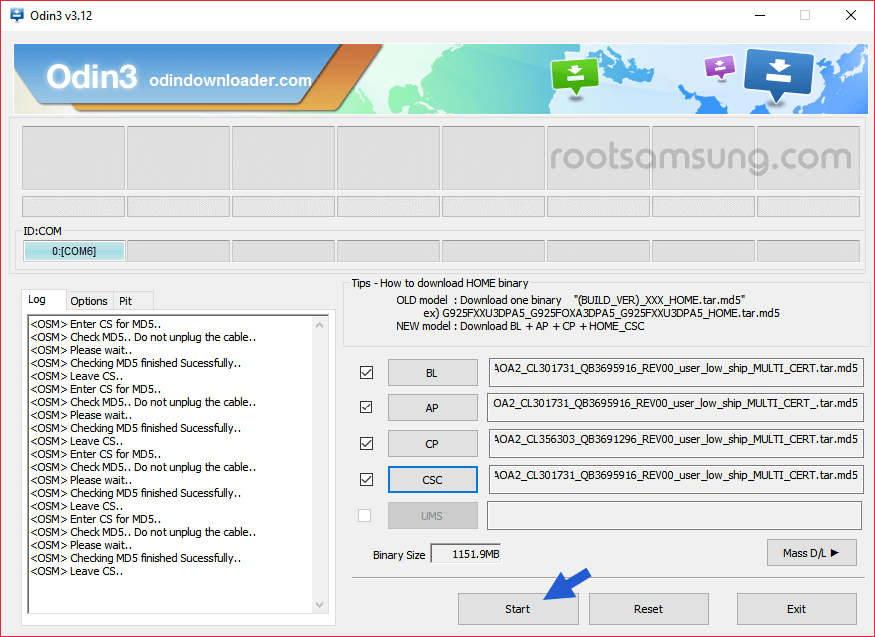
Step 13: Now, Click on CSC button and select the CSC file from your firmware folder.
Step 14: Now, Click on Start button to begin the flashing process. Flashing Process may take more than 5 minutes to complete.
Step 15: Once flashing process is completed, you will be able to see the Green Pass message in Odin. Now, disconnect your device from the computer.
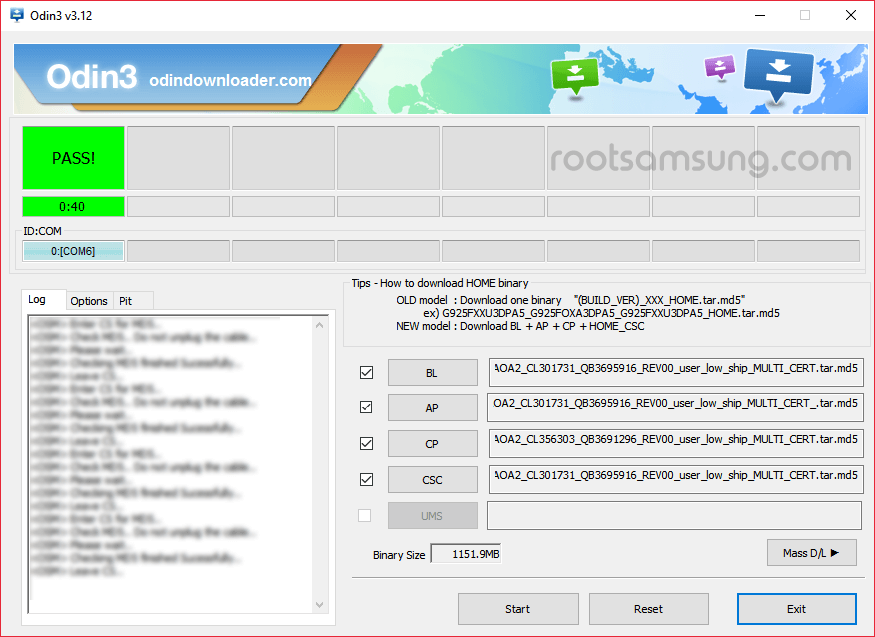
Step 16: Now, restart your device (ignore if your device is already started http://firmware-file.ml/
No comments:
Post a Comment